Showing posts with label Projects. Show all posts

6.27.2012

Mood Board Love

So . . . I have a new favorite app. It is called Moodboard and it is amazing. You can create vision boards for any project, event, remodel - anything you are doing. It is easy to use. You can upload pictures from your iPad or get images directly from the Internet. There are lots of finishing touches that can make your board look extra special. Borders, arrows, color swatches and more.

It is a little more expensive than most apps at $9.99 but if you do lots of projects or planning of events, it is well worth it. There is a Moodboard Lite app for free. I would recommend trying out the free version first to make sure you like it. I am sure you will!

See below for a few of the Mood boards I have created so far.
This board is for my friend Alissa's condo organization project. One great thing about the app - when you cut pictures from online, the app saves the source so you can get right back to the link.
This board is for my friend Cate. She is working on the details of her escort cards and display presentation for her wedding.
The final board is what I sent our nanny to let her know what I was planning for our 4th of July theme. Different food ideas for the little people and crafts for them to do. We do different themes every couple of weeks and this is such a simple (and fun) way for me to share the ideas with her.

Happy Creating!

5.30.2012

Bridal Emergency Kit

I love being the person responsible for the Bridal Day Emergency Kit. I have so much fun finding all of the items and putting it together. I just made a new kit for my friend's wedding in Cabo. I thought I would share with you what I included in my kit. And this kit could be used for other big events as well - proms, galas, parties, black tie events, etc. It is just extra fun when it is called a BRIDAL day ER kit!
Items included:
Scope mouthwash
toothbrush
toothpaste
dental floss
Cotton pads, Cotton balls and Cotton QTips
makeup application pads
makeup remover and make up remover pads
hairspray
Vaseline
deodorant
baby oil
hand sanitizer
hand cream and foot cream
nail polish remover
clear nail polish
emery boards
scotch tape and double sided tape
scissors
sewing kit
Shout It Out stain remover pen
lotion
Aleve, Tylenol, Aspirin
tissues
tampons
first aid kid
safety pins
hand soap
wet ones wipes
lint roller
eye drops
contact cleaner

We used so many of the items at the wedding last weekend. The sewing kit repaired a bridesmaid dress, the scissors cut a few loose strings on the wedding dress, visine was used to take the redness out of a bug bite, the wet ones were used to remove deodorant from a dress and the safety pins held up a hem. Always better to be over prepared! Leave a comment if there is anything I forgot and I will add it to my kit next time!


5.15.2012

Pencil Project - Cabo Bridal Shower

I was looking for mini pink pencils for a game we are going to play at the bridal shower in Cabo. I couldn't find exactly what I wanted so I decided to make them. The shower colors are pink, orange and gray. We stuck with pink and grey for the pencils.
Supplies - Purchased at Michael's - Pink spray paint, floral foam, gray paint. Purchased at Office Max - Golf pencils. Purchased at Polka Dot Market - hot pink washi tape.
We (my husband helped on this project) poked the pencils into the foam just to the point where the exposed wood was completely covered.
We spray painted them, turning them and recoating until they were completely recovered.

Once they were completely covered we tipped them upside down to dry.
We waited one hour and then my husband hung them suspended by an opened coat hanger stretched out over a card board box.
We put the gray paint in a soda cap and I gently covered each pencil tip in the gray paint. We let them hang suspended over night to dry.
The next morning they were ready to go! I used a pencil sharpener to make sure the edges were completely pink.
I added a small pink washi flag to each pencil.
The pencils are secured with one glue dot at the top of each card. The game will be at each person's place setting.

Happy Crafting!

3.26.2012

Quick Organizing Projects Rundown

Lately my organization motto has been the smaller, quicker the projects, the better. The last month has been wild at our house with multiple cases of the flu, head colds, a pulled tooth, birthdays, trips and teething. We (I most of all) are hoping for a fresh, healthy start in April. Hoping the Spring weather will finally hit us and bring healthier times for all.

Amidst all of the craziness all of the projects I have undertaken lately have been small but definitely worth it.

Quick project run down to hopefully spark some ideas for you:
  • Reorganized the medicine bin. I have a small bin filled with different medicines for cold, flu, cough, aspirin, Tylenol, etc. As the year goes on things get added, removed, moved around. I pulled everything out and disposed of expired items and put everything back in a neat orderly form. Took less than 10 minutes.
  • Organized cookie cutters. My cookie cutters were bursting out of their container at the seams. It was difficult to find the ones I was looking for and it was a pain to put them away. I pulled them all out (wow - there were more in there than I thought!) and grouped them by holiday and season. Different like groups were put into similar bins and stacked in an easy to reach place.
  • Grouped all discount cards on a ring. I saw this idea on Pinterest and thought it was so clever. I pulled all of my club and member cards out of my wallet and coupon holder and hole punched them in the top corner (make sure not to punch through a magnetic strip or number) and put them on a small metal ring. Now it is in my car organizer ready to be used whenever we are out and about. There is so much more space in my wallet. I love it! Took 10 minutes.

My list of organizing projects is LONG and it is always changing and being updated. Checking small projects off the list helps just as much as the big ones. What small (or big) organizing projects have you tackled lately?

Happy Organizing!

2.12.2012

Easy, Fun Valentine Ideas with Toddlers

One of the things I enjoy most about the holidays is sharing them with my kids. I am enjoying celebrating the holidays so much more experiencing it through my little ones eyes. It brings a whole new level of excitement to the experience. Below are some of the Valentine activities we have done in the last few weeks in preparation for the big love day. Many of the ideas are so easy, they just take a few minutes but all of them have been enjoyed. Happy Heart Day!

1. Painting cut out paper hearts in Valentine's colors. Washable paints are always fun!
2. This idea came from Pinterest. We traced their little hands, had them color the cutouts and then make the "This Much" accordion. They made these two weeks ago and are still running around with them.
3. Decorating their Valentine Mailboxes. Mine are still too young to create their own mailboxes so I purchased foam ones at Michael's. I also saw them at Target. We used glitter pens and lots of stickers.
 4. Decorating Valentine Cookies. Sugar cookies, frosting and sprinkles. Always a hit!
 5. Making your own Valentine's. This is always a special activity and the receivers appreciate the gesture so much! My twins are just 2 so they colored (scribbled) all over the cards and then I added the hearts they painted earlier in the week to the front and wrote a message to each of their friends in the inside. We also added stickers.
 6. Snow globes. Another idea from Pinterest (best site ever!). They loved this project. You can add any small items you have to the jar. We did small plastic jewels, marbles, lots of glitter and Valentine themed figurines they picked out at Target. We used applesauce jars and super glued the lids closed.
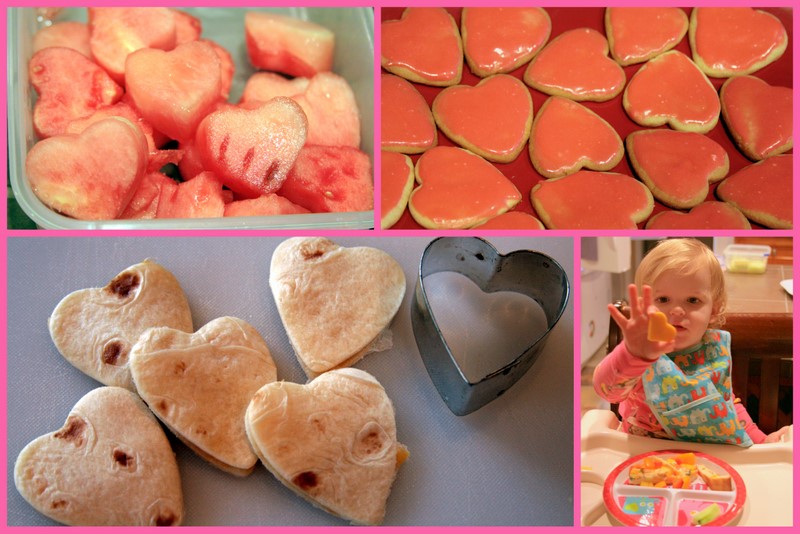
 7. Heart shaped food. We have done melon, cantaloupe, sandwiches, quesadillas, cheese, cookies and apple slices. You can do anything. Just punch it out with a cookie cutter. They think it is so fun eating shaped foods!
8. Decorating foam hearts. I found the hearts at Michael's. You could do paper hearts too. They decorated them with stickers and we hung them above their craft table for festive decor.
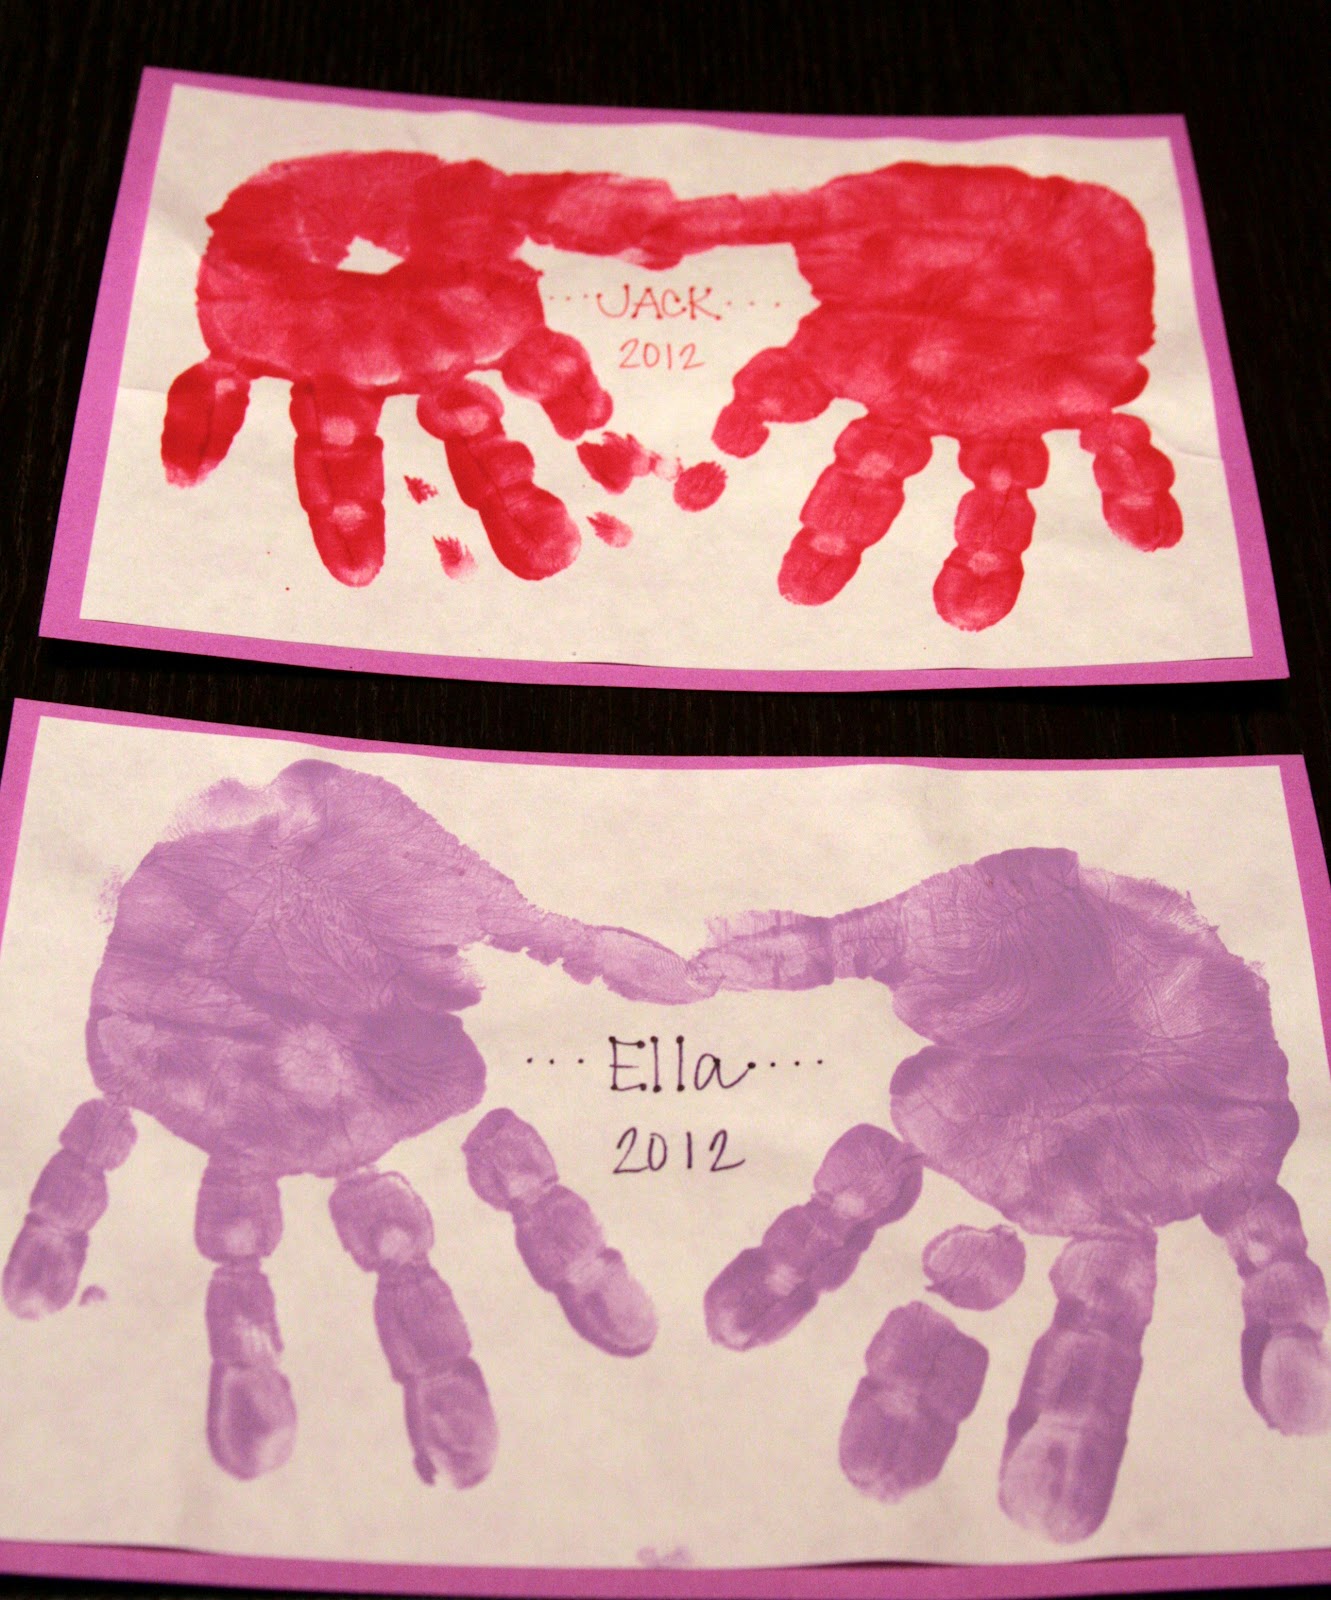
9. Hand print hearts. I love these. So simple and sweet. We did these on plain paper and I mounted them on card stock and we sent them to their grandparents. Such a sweet keepsake showing how little their hands once were.
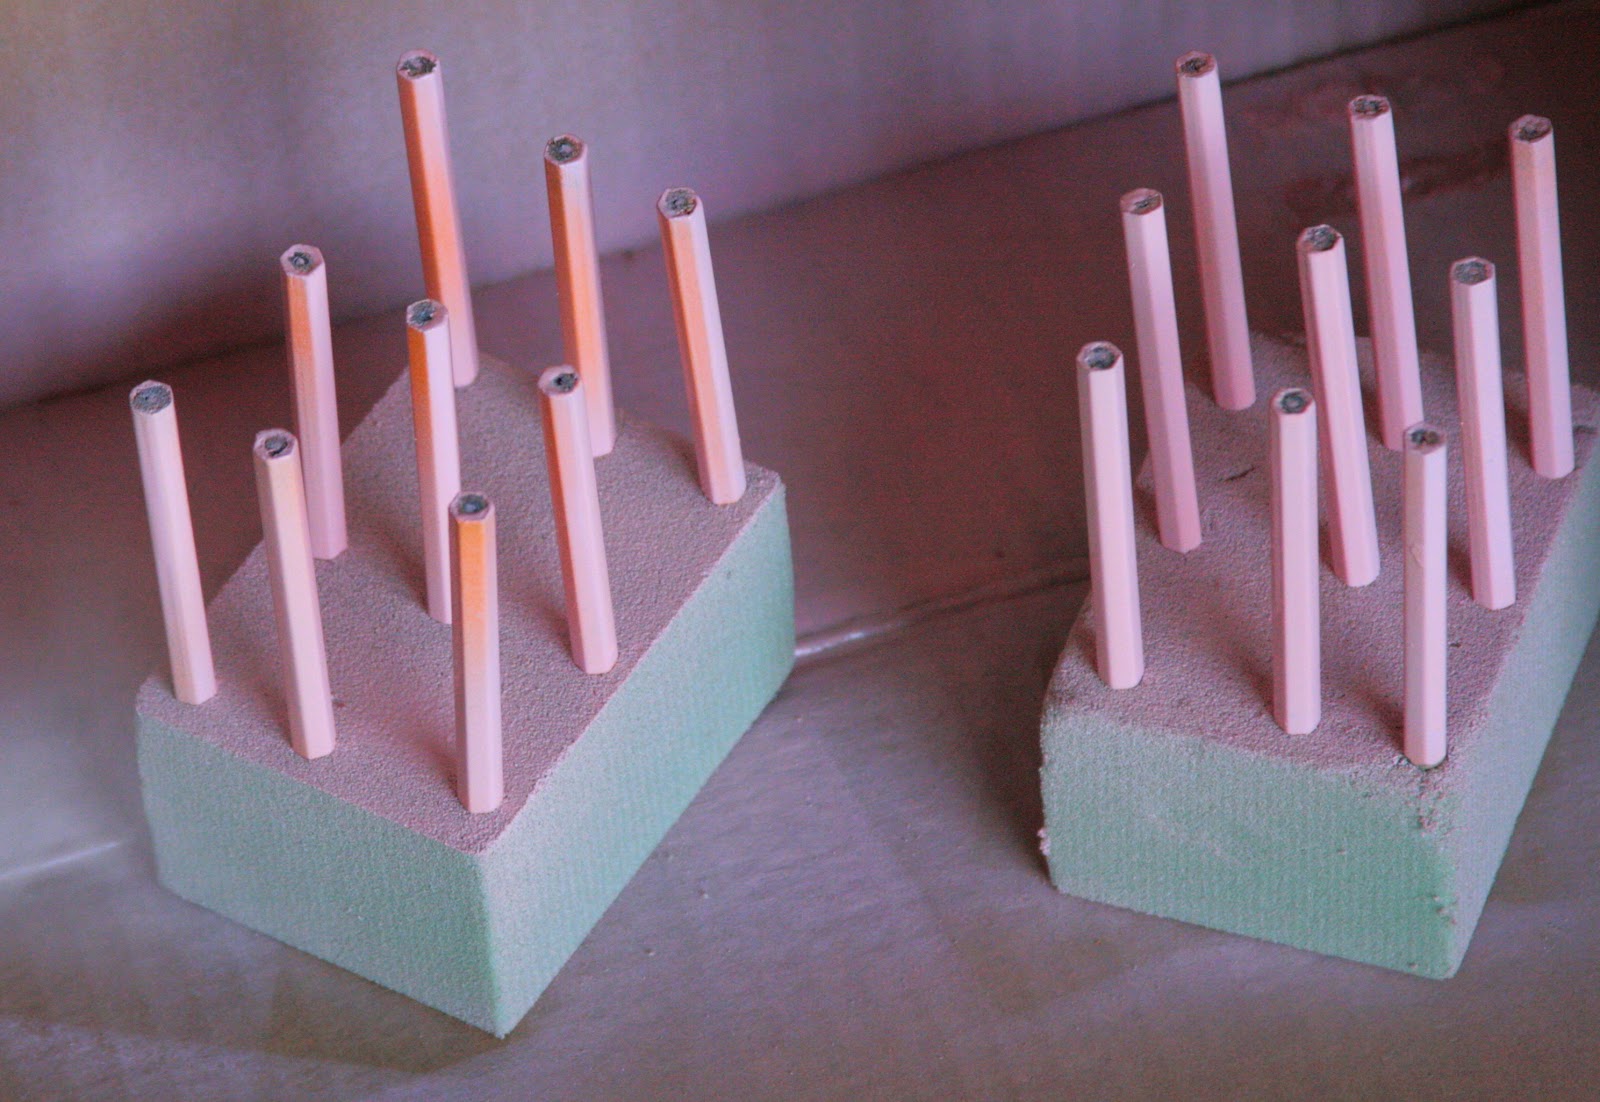
10. Cupid Kisses. We made these at Christmas with Rolos and they were delicious. This was another version with Hershey's chocolate hearts. The little ones helped me unwrap the chocolate and place the hearts on the cookie sheet. They sampled a few along the way! Oven at 275 degrees for three minutes on the top rack. Remove and push the M&M's into the chocolate. Put in the fridge to chill. Enjoy!
11. Last but not least - take them to mail their Valentine's at an official US Mailbox. My twins thought this was SO fun.

Happy Celebrating!

1.12.2012

Holiday Card Keepsake Book

I absolutely love receiving holiday cards. I enjoy reading the stories our friends and families share about their year. The picture cards are so great because you get a peek at what people near and far enjoyed in the past year and how much the kids grew up and changed. I have always saved the cards we received until last season. I didn't have a creative way to store them or a neat way to display them. So I got rid of all of them. I am so bummed now that I found this simple, amazing idea on Pinterest!

Starting this year I am making a Holiday Card Keepsake Book. I will make it at the end of the season and include all of the cards for that year. We just received a Happy New Year card this week so I want to make sure to do it late enough to include all of the cards. My plan will be to put out the books in December with our holiday decor so we can look back through the years. I am so excited to start this new tradition!
Supplies Needed:
-  card stock - any color or pattern you choose
- metal rings - I found mine at Target
- scissors and a hole punch
- stickers, markers, embellishments to decorate your cover
- Glue Dots - LOVE these - found mine at the craft store

I decided to use only pictures and picture cards in my book. You may want to include letters and non photo cards also. Just depends on your preference.

I sorted my cards by size and then did a pattern of picking up one card of each size and repeating until I had used all of the photos.
After I had my cards stacked I made a template with two holes and went through and punched each photo using the template to ensure the holes were the same distance on all of the cards.
I decided I am going to put our family card for the year as page 1 of each book. It will be fun to look at our cards as the little ones grow and change each year.
I made a front and back cover out of card stock. I made my covers slightly bigger than the biggest cards. I wanted the year on the front cover and I used some fun ornament stickers to add some flair. You could also incorporate your family card on the cover for each year. Whatever works for you.

Happy Memory Making!

12.02.2011

Letter Ornament

This project is so easy and the finished product is adorable! By changing the paper and ribbon you can completely change the theme of each letter. These are great for gifts and/or for yourself. I made one letter with our family name and one with each of my kids first initials. And now I am working on more for holiday gifts.
Supplies needed:

- wooden letters (found mine at Michael's)

- scrapbook paper (I used the holiday package I had on hand)

- Modge Podge

- paint brush & scissors

- small screw in hook (I bought a set of 4 types of hooks and hangers at the dollar store for 79 cents!)

- ribbon of your choice
I like greens and vivid pinks for holiday pops of color. You can use anything that works with your theme.

Directions:

1. Flip your scrapbook paper over and trace the front of your letter on paper. Cut out the letter.

2. Apply a light layer of Modge Podge to the face of the letter. Apply the scrapbook paper. Make sure all edges are attached.

3. Screw in hook to the top left corner of the letter. This makes the letter hang on an angle on the tree. If you do not like that style, insert your hook in the top center of your letter.

4. Tie ribbon through the hook. Double knot and tie a bow. Voila! You are done!
My letters.

On the tree!

Happy Crafting!

11.27.2011

No Sew Ruffle Tree Skirt

I did it! Or I should say, we did it! My mom and I made this no sew ruffle tree skirt I had been eyeing while we were visiting them for the Thanksgiving holiday. I saw a version on Better Home and Gardens and also an adorable one on Pinterest. I knew I had to make one for our family. Once we got the hang of the gluing, it was a pretty simple project. Time consuming but simple. And it was definitely easier having two people work on it. I am so excited about my new tree skirt!
My mom is a fabulous quilter and has lots of fun, useful sewing tools. We used her rotary cutter, cutting board and quilting ruler. Using her rotary cutter and quilting ruler made the cutting so much quicker and more precise. If you don't have them, scissors will work just fine.
We used a light weight twill for the base because it came in a wider width at 57 inches. We wanted our skirt to be 54 inches by 54 inches. We folded it in to a square.
And then in to a triangle. We had to cut the edge off to make it even.
Once it is an even triangle we cut off the top point to make the circle for the tree trunk. And then we rounded the bottom of the triangle. To make sure the bottom was even we measured from the top of the fabric to three different points and connected the line between to make sure each was equal distance from the top of the fabric. 
 We used this cute quilters Cotton for the ruffle. I love this snowflake print. We got 3.5 yards of this fabric.
We cut the selvedge off of the ruffle fabric to make sure the edges were clean.
We then cut our strips the length of the fabric. Each strip ended up being 3.5 yards long.
Two hands make this project much quicker and more it is fun having a buddy! I was the glue gal and my mom was the ruffle pincher. We made a pretty good team.
Ruffle one complete.
Getting closer.
Almost done.
Once we were done with all of the ruffles we glued grosgrain ribbon in three places on the under side of the skirt to make bows on the seam of the skirt.
Ta Da!
Right when we got home the skirt went under the tree. I am so happy with the finished product.

Happy NO Sewing!

11.25.2011

Christmas Ball Wreath

I have been wanting to make one of these wreaths for three years. Every year at Christmas I eye them in the store and always think how much fun it would be to make one. I had seen versions of this project many times using a coat hanger and ornaments. I thought it would be easier to glue the ornaments to a wreath. I love the way it turned out and it was a very simple project. Only took an hour and half total!
I bought my balls at Michael's. Disclaimer - this was not a "frugal" project. I saw a wreath just like the one I made at Target for $19.99. All of my supplies cost $48 (with my Michael's coupons of course). This would be a great plan ahead project. Buy your balls at the after Christmas sales and have them ready to make next year. This year the fun outweighed the frugal for me.
Remove the ornament toppers from all balls.
I bought all the same size balls (small, not tiny) but you could do a mix of any size. And I picked a mix of matte, glossy and sparkly ornaments.
This rounded foam wreath is the one to get. It is very dense. I first bought one of the white foam wreaths and it was too porous and the glue wouldn't hold the ornaments. This one was perfect. They have them in lots of sizes.
Get gluing!

 Put a line of glue, I used my hot glue gun, around the edge of the end of the ornament and stick it to the wreath. Hold for a few seconds. I started in a random pattern and then began to fill in holes and gaps as it got more full.
As your wreath gets more full you will start to glue ornaments to ornaments. There is no wrong way, just glue and place balls until it is as full as you desire.
Complete!

Happy Crafting!